Bathroom Renovation Steps: Demolition to Final Inspection
A practical guide to bathroom renovation steps in Ontario, from demolition and rough-in to waterproofing, tile and final inspection. Permits, trades and mistakes.
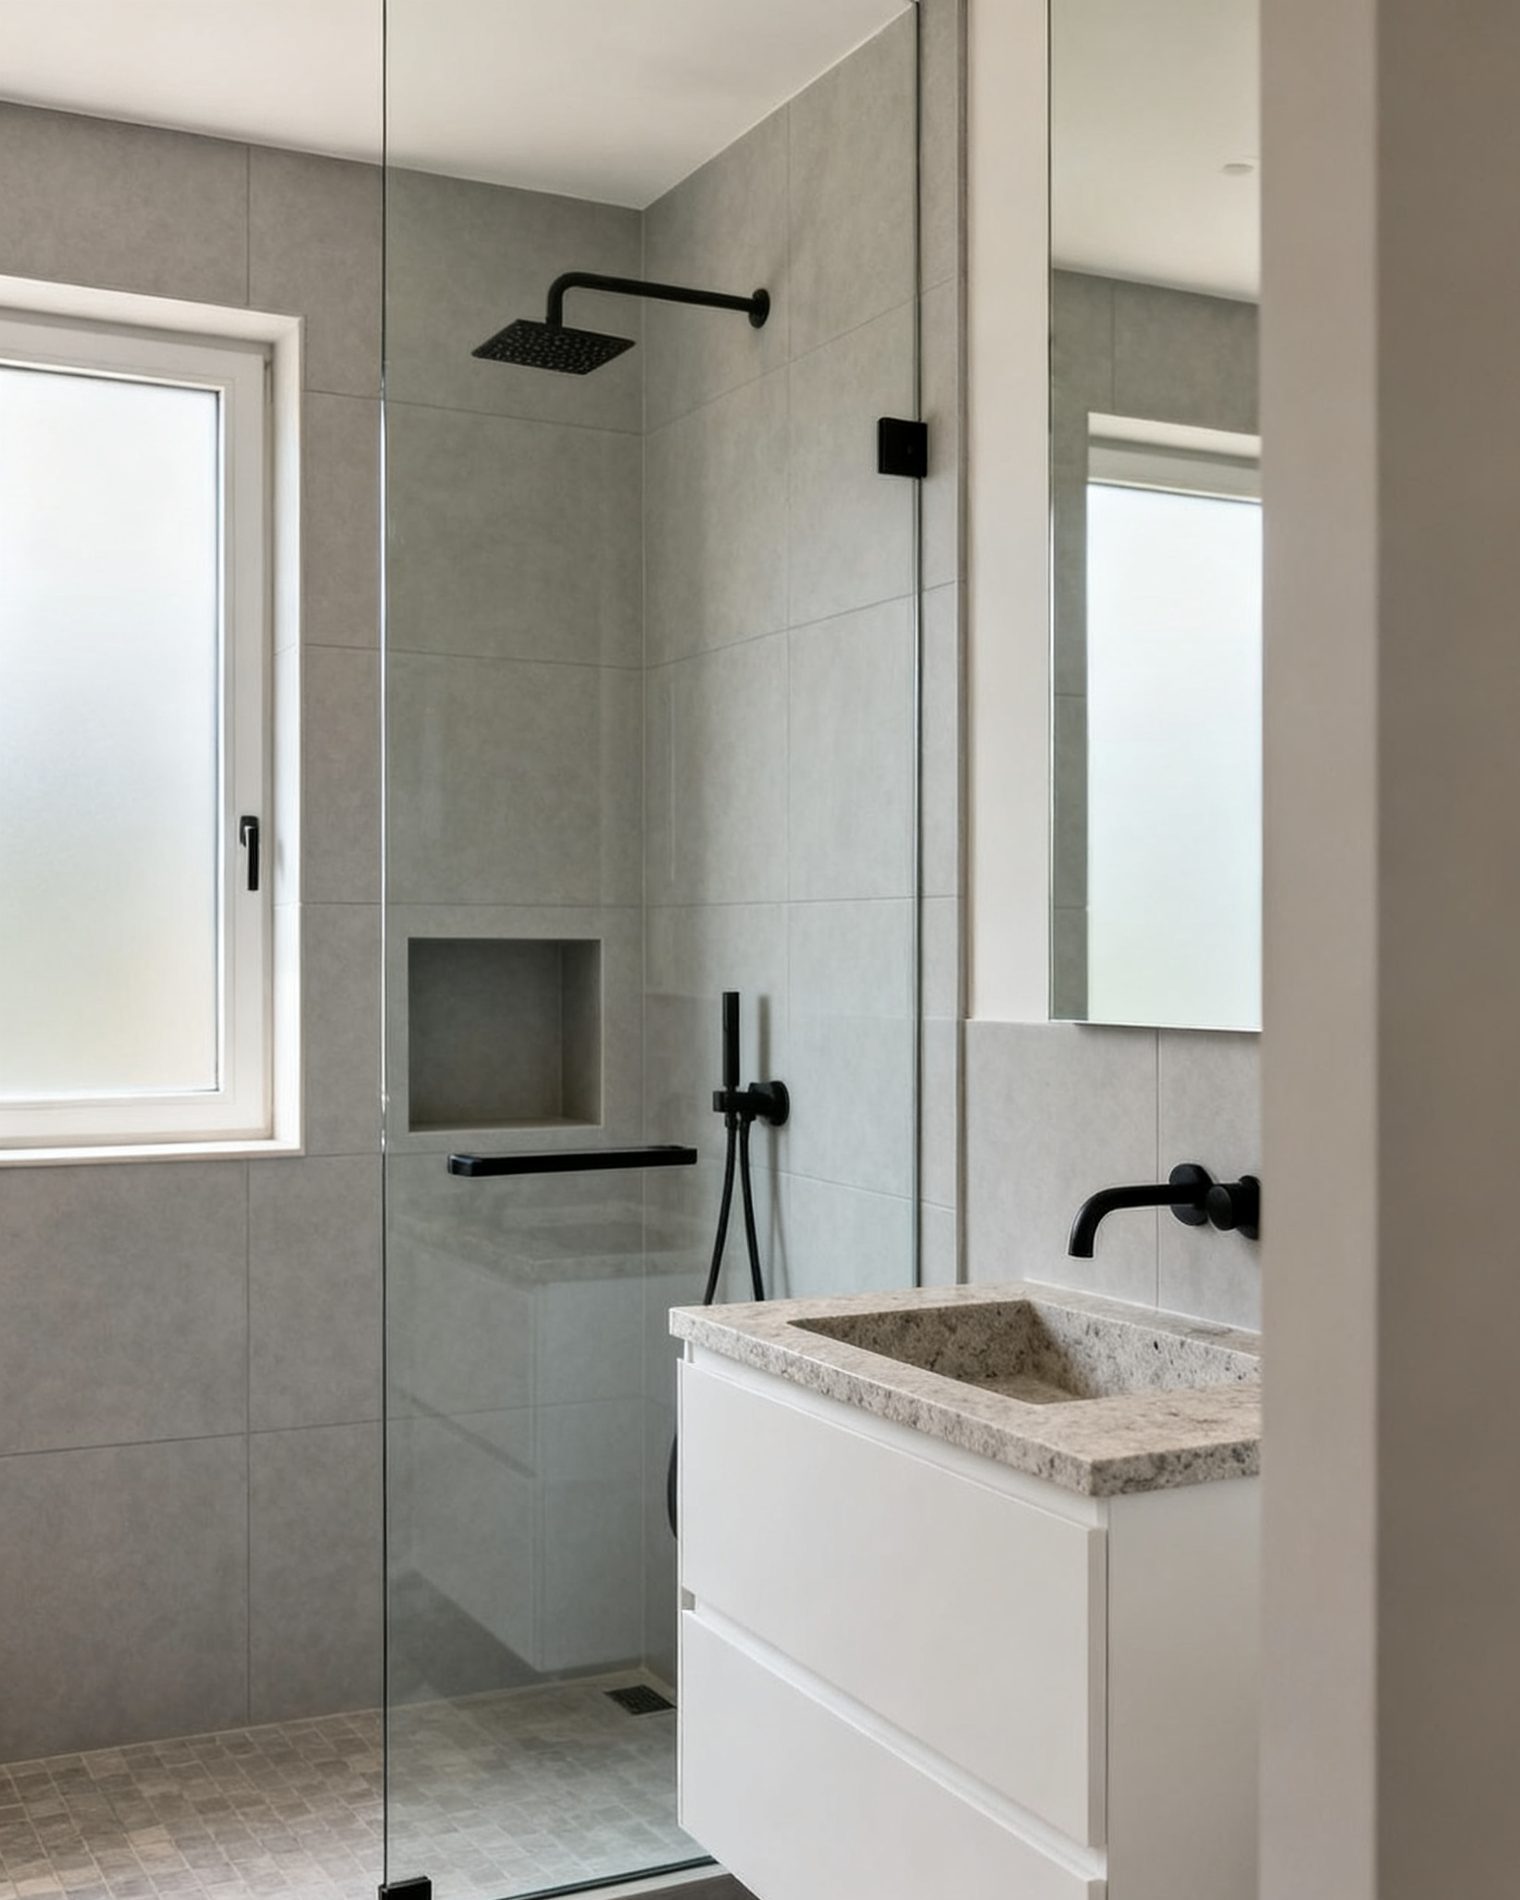
A bathroom renovation follows a fixed order on site: protect the rest of the house, demolish, rough in plumbing and electrical, pass inspections, close the walls, waterproof the wet areas, tile, set fixtures and finishes, then arrange the final inspection. Getting that sequence right matters more in a bathroom than in most rooms, because almost everything that can go wrong later — a leak into the ceiling below, mould behind tile, a fan that vents into the attic — is decided in the first half of the job, before anything visible is installed.
The order of work, step by step
The table below sets out the usual sequence for a bathroom remodel process in an Ontario home. Not every job includes every step, but the order rarely changes.
| Step | What happens | Who does it | Permit or licence |
|---|---|---|---|
| 1. Protection | Floors covered, dust barriers at doorways, contents removed | Contractor or homeowner | — |
| 2. Demolition | Fixtures, tile, drywall and old subfloor removed; suspect materials tested first in older homes | Contractor | — |
| 3. Rough-in | New drain and supply lines, new or relocated circuits, exhaust fan ducting | Licensed plumber; Licensed Electrical Contractor | Plumbing permit; ESA notification of work |
| 4. Inspections | Rough plumbing and electrical inspected before walls close | Municipality; ESA | — |
| 5. Framing and blocking | Studs straightened, blocking added for grab bars, vanities and glass | Contractor | Building permit if walls move or structure changes |
| 6. Insulation and air barrier | Exterior walls insulated; air barrier made continuous | Contractor | — |
| 7. Waterproofing | Membrane or coating over shower floor and walls, taped joints, flood test where required | Tile setter or contractor | — |
| 8. Tile | Floor and wall tile set, grouted and sealed | Tile setter | — |
| 9. Fixtures and finishes | Toilet, sink, tub or shower trim, vanity, mirror, paint | Plumber for fixtures; contractor for finishes | — |
| 10. Final inspection | Building department and ESA sign off; fan and alarms checked | Municipality; ESA | — |
Protection and demolition
Demolition is the step homeowners most often underestimate. Dust travels through the whole house, and a bathroom sits at the end of a hallway or at the top of stairs, so a proper barrier at the doorway and protection on the path in and out are part of the job, not an extra. In a home built before 1990, suspect materials — old floor tile, plaster, textured ceilings, pipe wrap — should be tested before anything is smashed. Asbestos is a hazard when disturbed, and removal is work for trained asbestos professionals.
Plumbing and electrical rough-in
This is where the bathroom is really designed. Drain locations, venting, supply lines, the fan duct and the circuits for lighting, the fan and any heated floor are all set before the walls close. Plumbing work needs a municipal plumbing permit and inspection, and paid plumbing is done by a licensed plumber. Electrical work needs an ESA notification of work, and anyone paid to do it must be a Licensed Electrical Contractor who files the permit. If the layout is changing — a new sink position, a relocated toilet, a tub swapped for a shower — the rough-in is the moment to get it right. Adding a bathroom where none existed brings in venting questions as well; the guide to adding a bathroom to a house explains what that involves.
Inspections before the walls close
The permit names inspections at stages of the work, and for a bathroom the rough plumbing and rough electrical inspections come before drywall. Covering work before it is inspected can mean opening it up again, so the schedule should hold a day or two for the inspector. The permit card must be posted where it is visible.
Framing, blocking and the closed wall
Once the rough-in passes, the walls are straightened, blocking is added where grab bars, a heavy vanity or a glass panel will attach, and the exterior walls are insulated. A building permit is needed if walls are moved or structure changes; cosmetic work in the same layout usually does not need one. The general rule for when a renovation needs a permit is worth checking before demolition, not after.
Waterproofing: the step that decides whether the job lasts
Waterproofing sits between the rough-in and the tile, and it is the single most important step for a bathroom that will not leak. In a shower, the floor and the walls behind the tile need a continuous waterproof layer tied into the drain, with joints taped and corners reinforced. Some systems use a sheet membrane, others a liquid coating; both work when installed to the manufacturer’s instructions and tested. Where a flood test is required, the pan is filled and left before tile goes down. The details that matter — slope to the drain, the curb, the transition to drywall, the seal around the valve — are covered in shower waterproofing and tile. Skipping or rushing this step is a common reason a new bathroom leaks within a few years.
Ventilation: the fan and the duct
Bathrooms and kitchens need mechanical exhaust ventilation to the outdoors, never into an attic or a wall space. A fan that discharges into the attic simply moves the moisture problem out of sight. The duct should run as short and straight as possible to an exterior wall or roof cap, insulated where it passes through cold space, and the fan should be sized for the room. A fan on a timer or a humidity sensor is a practical choice, because the fan needs to run long enough after a shower to clear the moisture. More on sizing and ducting is in bathroom exhaust fans and ventilation.
Choosing fixtures before the rough-in, not after
Fixtures should be chosen before the plumber arrives, because the rough-in dimensions depend on them. A freestanding tub, a wall-hung vanity, a curbless shower and a standard alcove tub all need different drain positions and blocking. Decide the layout, the tub or shower configuration, the vanity width and the toilet rough-in first, then let the plumber set the lines. If the plan is to remove a tub and build a walk-in shower, the drain, slope and waterproofing all change; the guide to converting a bathtub to a walk-in shower sets out what that involves.
Tile, fixtures and finishes
Tile goes down after waterproofing has passed and the substrate is flat. Floor tile is usually set first, then wall tile, then grout and sealant. Fixtures — toilet, sink, shower trim, tub filler — are installed by the plumber, and the vanity, mirror, lighting and paint follow. Keep the inspection card and the permit number until the final inspection is signed off.
What goes wrong, and how to avoid it
- Waterproofing skipped or patched. A membrane with a gap at the drain or a corner is a leak waiting to happen. Insist on a flood test where the system calls for one.
- Fan ducted into the attic. Moisture ends up in the roof space. The duct must go outdoors.
- Rough-in changed after inspection. Moving a drain or a circuit after the inspection means a re-inspection and often opening the wall again.
- No blocking for grab bars or glass. Blocking is cheap before the tile and expensive after.
- Fixtures bought after the rough-in. The drain and supply lines end up in the wrong place, and the fix is demolition.
- Covering work before inspection. The building department can require the work to be opened up.
- Ignoring the rest of the house. Dust and debris travel; protection is part of the job.
- No written change orders. Any change to scope, price or schedule should be written and signed by both sides before the extra work is done.
The final inspection and the paperwork
The final inspection confirms the work matches the permit and the approved plans. The building department signs off the building permit, and ESA signs off the electrical work. Keep the permit documents, the inspection records and the contractor’s warranty together; they matter if the bathroom is ever sold or insured. Tarion’s warranty covers new homes, not renovations, so the protection for this work is the written contract, the contractor’s own warranty and insurance, and the 10% holdback the Construction Act requires on each payment.
Common questions
Do I need a permit to renovate a bathroom in Ontario?
A building permit is generally needed when plumbing fixtures or drains are added or moved, when walls are moved or structure changes, or when a basement bathroom is added. Cosmetic work in the same layout usually does not need one. Plumbing work needs a municipal plumbing permit, and electrical work needs an ESA notification of work. Check with your municipality's building department before starting.
What is the correct order of a bathroom renovation?
Protection, demolition, plumbing and electrical rough-in, rough inspections, framing and blocking, insulation, waterproofing, tile, fixtures and finishes, then the final inspection. The rough-in and waterproofing come first because everything visible depends on them.
How long does a bathroom renovation take?
A full bathroom renovation usually takes a few weeks on site, longer if the layout changes or inspections need to be scheduled. Every job differs, so ask the contractor for a start and completion date in the written contract.
Can I do my own bathroom plumbing or electrical?
Paid plumbing and electrical work must be done by licensed trades: a licensed plumber for plumbing, and a Licensed Electrical Contractor with an ESA permit for electrical. A homeowner may do electrical work in their own home only with their own ESA permit. Gas work must be done by a TSSA-registered contractor.
Why does my bathroom fan vent into the attic?
It should not. Bathrooms need mechanical exhaust ventilation to the outdoors, never into an attic or a wall space. A fan ducted into the attic moves moisture into the roof space and can cause mould and rot. The duct should run to an exterior wall or roof cap.
Read next
Adding a Bathroom to a House: Plumbing, Venting and Permits
Where a new bathroom can go, how drains and venting work, when you need a plumbing permit, and why a basement bathroom needs a pump. An Ontario guide.
Bathroom Exhaust Fans: Code, Ducting and Quiet Choices
What Ontario's Building Code requires for bathroom exhaust, how to duct a fan to the outdoors, choosing a quiet unit, controls, and the mistakes that cause mould.
Shower Waterproofing and Tile: A Wet Area That Lasts
Why tile and grout are not waterproof, how shower membranes and backer boards work, slope to the drain, flood testing, and the failures that rot walls.